Materials ⚙️
The first thing step in creating a realistic rendering is picking a material that closely matches what the product is made out of. To do this, start by clicking on the Appearance icon in the Menu. For example in the video, we could chose the Steel Appearance because our product is made out of steel.
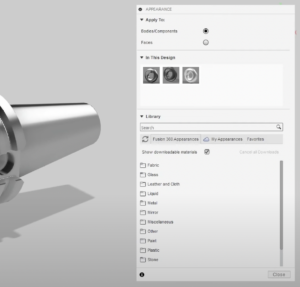
To find the Steel Appearance, go into Steel and pick Steel Satin, then drag and drop it on top of one of the objects. Next, repeat this step for the other parts with their respective materials.
Lighting 💡
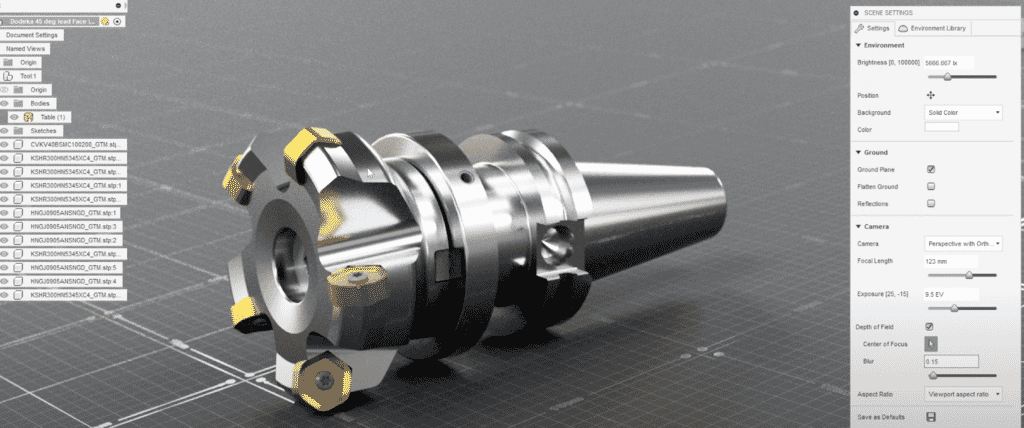
The next factor to consider when creating a realistic rendering is lighting. After all, if a rendering isn’t well-lit, it won’t look like it’s in a real environment. To adjust lighting, go into the Scene Settings and then into the Environment Library, where you can see all of the default light environments. If you drag a different light environment into the viewport, you can watch the effects happen.
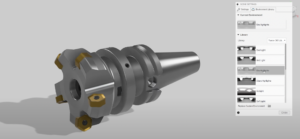
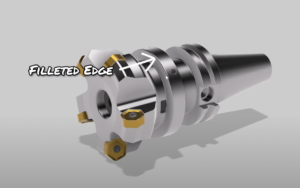
But first, we want to talk about a tip that will improve the look of your renders. That is to use filleted or rounded edges instead of sharp edges. To get a good highlight – we make sure the edge has a fillet on it.
Another tip to adjust lighting is to change the background colour. In this example, the part is grey, and so is the background. We want to add some contrast. To do so, go into settings and change the background colour.
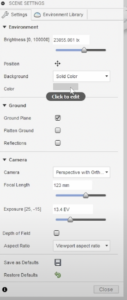
By clicking on the colour swatch, you can change the colour to pure white. This changes the background and makes the product stand out better.
Environments 🌳
The third tip covered in this tutorial is to put your item in a realistic environment. For example, if you’ve modeled a toaster or a coffee maker, put it on a kitchen counter. If you modeled a drill, put it on a workbench. To do this in a realistic way, play around with the Appearances dialog.
There you’ll find features like Diamond Plate, Ground Plane, Steel Satin and more — all of which can alter your environment’s appearance.
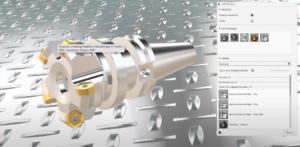
Another tip for mastering environments is to use Depth of Field. It helps make the viewer focus on the object in the foreground, while the background fades out into a blurred image. You see this quite often in photography. Start an in-canvas render, then turn on Depth of Field and select your centre of focus.
Create your render ✨
Once you set up your scene using these materials, lighting, and environment tips, it’s time to make an official render. With Fusion 360, you can either render on the cloud or locally on your computer. It’s always exciting to see the final result! So, next time you want to level up your rendering, remember materials, HDRIs, and environments.
Related Courses
